
Teaching Plant Reproduction and Growth with Simple Experiments for Effective Student Engagement
Teaching plant reproduction and growth can be simple and engaging when using hands-on experiments. These activities help students observe key stages, such as seed germination, root and leaf development, and flowering. Simple experiments allow learners to see how plants reproduce and grow, making complex processes easy to understand.
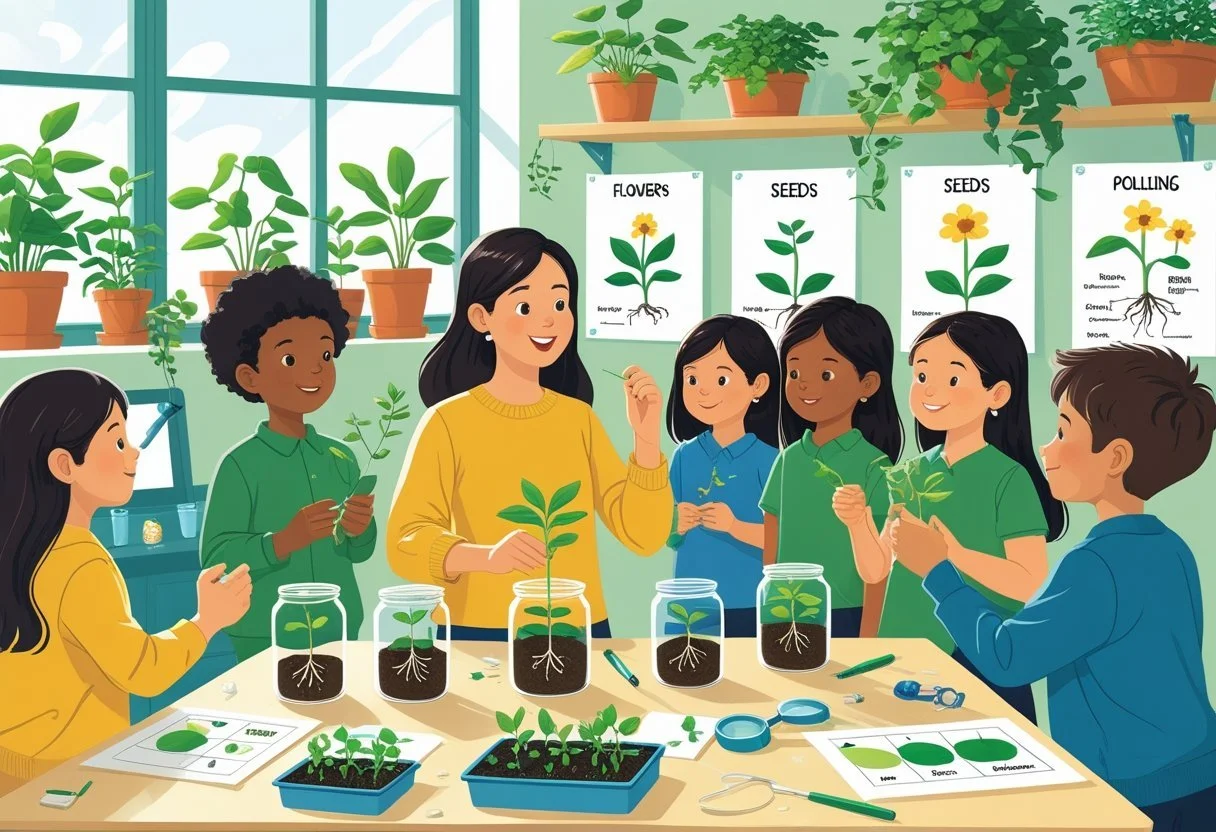
By exploring plant life cycles through activities like sprouting beans or creating mini greenhouses, students gain direct experience with how plants grow and respond to their environment. This practical approach helps build a strong foundation in plant biology and keeps learners interested.
Using step-by-step experiments, educators can explain plant anatomy and basic functions like photosynthesis while encouraging careful observation and inquiry. These lessons make plant science accessible and fun for all age groups, whether in classrooms or at home.
Key Takeways
Hands-on activities help students understand plant reproduction and growth.
Simple experiments demonstrate important stages like germination and flowering.
Practical lessons encourage observation and build biology knowledge.
Core Concepts of Plant Reproduction
Plant reproduction happens in two main ways: sexual and asexual. Flowers play a key role in sexual reproduction by producing pollen and seeds. Pollination, the transfer of pollen, is essential for seed formation and involves various pollinators and methods.
Sexual and Asexual Reproduction in Plants
Sexual reproduction in plants involves the fusion of male and female cells. It usually happens in flowering plants where pollen from the stamen reaches the ovule in the ovary. This process creates seeds that grow into new plants.
Asexual reproduction does not involve seeds. Instead, plants use methods like runners, tubers, or cuttings to grow new plants. These new plants are genetically identical to the parent, making asexual reproduction faster but less varied in traits.
Both methods help plants survive in different environments and ensure species continue.
Parts of a Flower
A flower has both male and female parts. The male parts include the stamen, which has the anther that produces pollen. Pollen contains the male gametes.
The female parts consist of the carpel or pistil. This includes the stigma (where pollen lands), the style (a tube pollen travels down), and the ovary (which contains ovules). Ovules hold the female gametes, which become seeds after fertilization.
Other parts like petals attract pollinators with color and scent, aiding reproduction.
Pollination Mechanisms
Pollination is the transfer of pollen from anther to stigma. This can happen in different ways depending on the plant.
Pollinators like bees, butterflies, birds, and bats carry pollen as they move between flowers. Wind and water also help move pollen in some plants.
Pollination must be precise. Pollen must land on the right part of the flower for fertilization to begin. Once fertilized, ovules develop into seeds, and the ovary may grow into fruit. This process is key for producing the next generation of plants.
Simple Experiments for Teaching Plant Reproduction
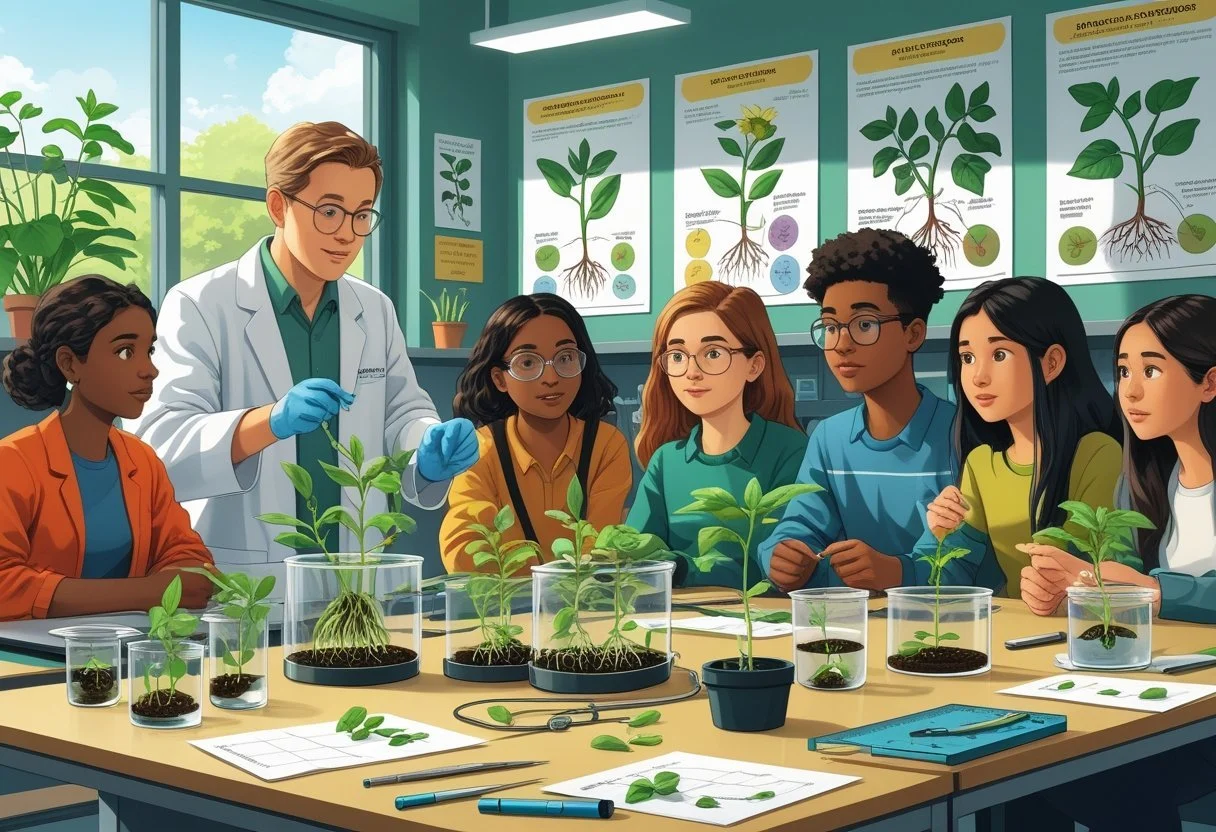
These activities help students learn how plants reproduce by exploring the parts of a flower, the role of pollinators, and how seeds spread. Each experiment shows a different stage in plant reproduction with hands-on methods suited for a middle school classroom.
Flower Dissection Activities
Students carefully dissect flowers to identify key parts like the stamen, pistil, petals, and sepals. This hands-on activity helps them see the reproductive organs directly.
Teachers can provide a variety of common flowers such as lilies or daisies. Using simple tools like tweezers and magnifying glasses, students remove parts to observe pollen-bearing stamens and ovary-containing pistils.
They can record their observations in a chart:

This clear focus on plant science helps students understand how reproduction begins at the flower level.
Pollinator Role-Play Experiments
To show how pollinators spread pollen, students can role-play as bees, butterflies, or other pollinators. Each student uses small brushes or cotton swabs to transfer "pollen" (colored powder or flour) between flower models.
This activity teaches the connection between pollinators and plant reproduction. Students learn that pollinators carry pollen to female flower parts, which leads to seed formation.
Discussing different pollinators also points out their importance in ecosystems and crops. This experiment works well in a middle school classroom with small groups to encourage teamwork and observation.
Seed Dispersal Demonstrations
Seed dispersal is a key part of plant reproduction, and several easy demonstrations show how seeds travel.
Students can test wind dispersal by dropping lightweight seeds or paper "seeds" outside to see how far they spread. For animal dispersal, sticky seeds like burrs can be attached to fabric, simulating how they hitch rides on animals.
Water dispersal can be shown with floating seeds in a container of water. Observing these methods helps students understand why plants rely on different ways to spread their seeds and grow new plants.
These activities strengthen understanding of seed dispersal’s role in plant life cycles and ecology.
Germination and Early Plant Growth Experiments
These experiments help learners see how a seed begins life and starts to grow. By using simple tools and clear steps, students can watch seeds sprout, roots emerge, and shoots develop. Understanding what affects these stages brings deeper knowledge of plant reproduction and growth.
Easy Seed Sprouting Methods
One of the simplest ways to study germination is by sprouting seeds in a clear plastic bag or cup. Using beans is common because they germinate quickly and are easy to observe. The seed is placed between damp paper towels inside the bag or cup, kept moist and warm, usually on a windowsill.
This setup lets students watch the seed swell, crack open, and begin to grow a tiny root. It’s a low-mess method that requires little soil, making it perfect for classrooms or homes. Regularly checking moisture and light helps ensure good sprouting conditions.
Observing Root and Shoot Development
Once seeds begin germination, roots are the first part to grow. Roots anchor the plant and take in water and nutrients. After roots, shoots emerge and grow upward toward the light, eventually forming leaves.
Using clear containers with soil allows students to observe these changes closely. Recording each stage helps track plant growth. Noticing how roots spread and leaves develop teaches learners about how plants support themselves and start photosynthesis.
Factors Influencing Germination
Several key factors affect how well seeds germinate and grow. Water is necessary to activate the seed’s growth process. Temperature also plays a critical role; most seeds sprout between 65°F and 85°F. Light requirements vary; some seeds need light to germinate, others do not.
Other factors include the quality of the seed and the presence of oxygen in the soil. Poor conditions can delay or stop germination. Experimenting with these factors shows how the environment impacts plant reproduction and helps explain why plants grow at certain times or places.
Hands-On Exploration of Plant Growth
Exploring how plants grow through direct activities helps learners understand the factors that affect development. Experiments focusing on seed growth, plant observation, and testing different conditions reveal important details about growth rates, leaf changes, and how fertilizer influences health.
Designing Controlled Growth Experiments
Controlled experiments use consistent methods to test how plants grow under specific conditions. For example, one group of plants can receive fertilizer while another does not, so differences in height and leaf color can be compared.
Key steps include:
Using identical containers and soil for each plant.
Keeping the same amount of water and light exposure.
Only changing one variable, such as fertilizer or light type, at a time.
Recording daily growth measurements like stem length and noting leaf color helps track progress. This method teaches the importance of control in experiments and makes it easier to understand cause and effect in plant growth.
Bean Plant Observation Activities
Beans are ideal for observing plant growth because they sprout and grow quickly. Students can plant bean seeds in clear containers to watch roots and shoots grow.
They should:
Measure growth daily and mark heights.
Note leaf color changes, which indicate plant health.
Observe how roots spread through the soil.
This activity allows learners to see the full growth cycle from seed to young plant. Tracking leaf color can help identify if plants lack nutrients or water. It's an easy way to connect hands-on learning with visible results.
Testing Environmental Variables
Plants respond differently to changes in their environment. Experiments can test factors such as light, water amount, and temperature to see how each affects growth.
Some practical tests include:
Growing plants under different light colors or intensities.
Varying water levels to see how too much or too little affects height.
Placing plants in warmer or cooler spots to check growth speed.
Recording growth data and observing leaf color changes help show how environment impacts health. These tests teach why conditions must be right for plants to thrive and how each element plays a role in development.
Investigating Plant Physiology Through Experiments
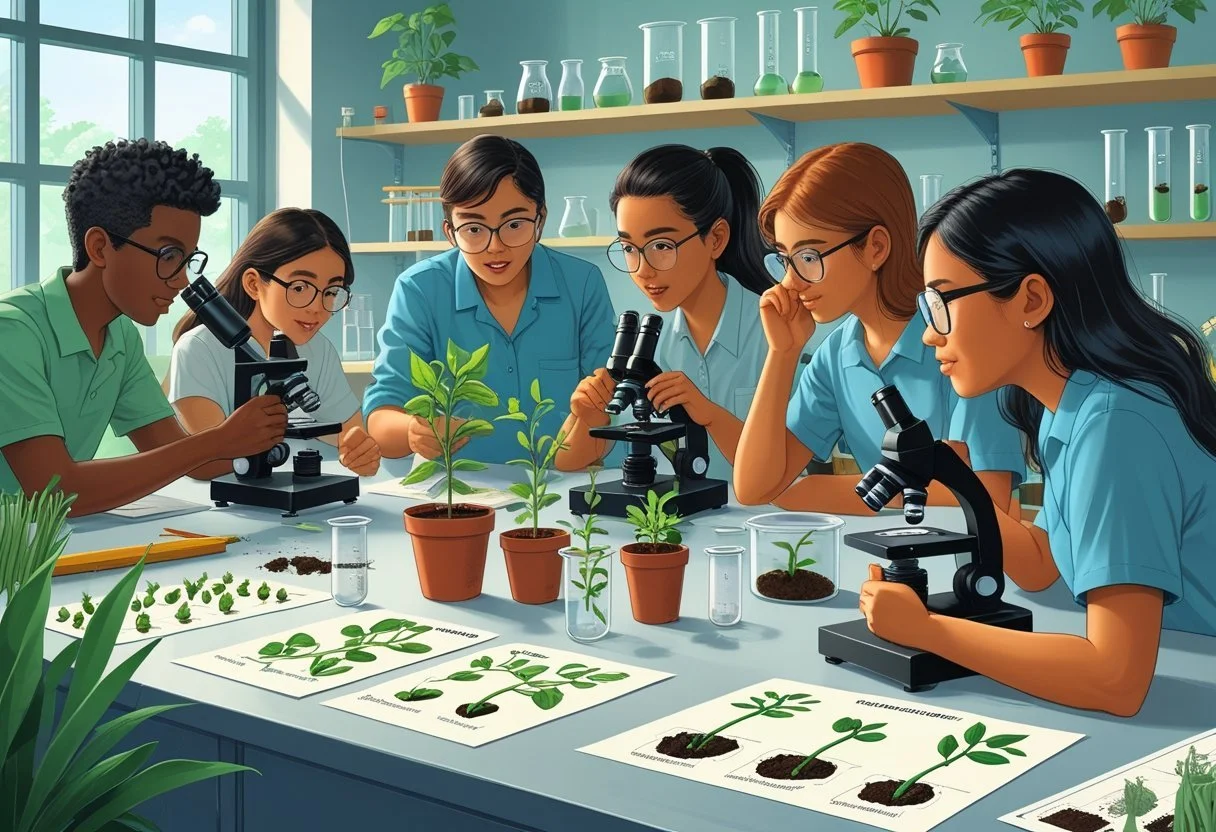
Plant physiology involves understanding how plants move water, nutrients, and energy to grow and reproduce. Experiments can reveal how stems draw water upward, how leaves lose water through transpiration, and how pigments in leaves create different colors. These investigations help students learn key plant functions clearly and hands-on.
Capillary Action in Stems
Capillary action is the process by which plants draw water up from the soil through tiny tubes in their stems called xylem. This movement happens despite gravity.
A simple stem activity uses a white flower or celery stalk placed in colored water. After several hours, colored water moves up the stem, showing capillary action in action.
This experiment helps students see how plants transport water from roots to leaves. It highlights that water travels through thin tubes without the plant needing to use energy. It also links well to studying how nutrients move within plants.
Water Transport and Transpiration
Water transport in plants is closely linked to transpiration, which is the loss of water vapor through tiny openings on leaves called stomata.
An experiment can measure weight loss of a potted plant over time to show transpiration rates. Students observe how water moves up from roots, through stems, and evaporates from leaves.
Transpiration helps plants cool down and pull more water from the soil. Wind, temperature, and humidity affect how fast transpiration happens. This experiment connects biology with environmental science by showing how conditions impact plants.
Leaf Color Chromatography
Leaf color chromatography separates the different pigments found in leaves. Pigments absorb sunlight for photosynthesis and give leaves their green, yellow, or orange hues.
Students crush leaf samples and place a drop of pigment extract on chromatography paper. As a solvent moves up the paper, it carries pigments at different speeds, spreading them out.
This activity reveals carotenoids, chlorophylls, and xanthophylls. Understanding these pigment types helps explain why leaves change color in different seasons and how plants capture energy efficiently.
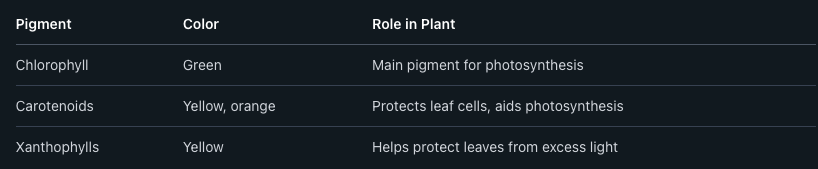
This simple experiment combines chemistry with plant science to explore leaf structure and function.
Exploring Photosynthesis in the Classroom
Photosynthesis is a key process in plant growth and provides energy for most life on Earth. Simple experiments can help students see how light, water, and carbon dioxide work together in photosynthesis. These activities also reveal how different conditions affect plant health and growth.
Photosynthesis Demonstrations
Teachers can show photosynthesis using clear, visual demonstrations. One common method uses a floating leaf or pondweed in a test tube filled with water. When exposed to light, oxygen bubbles form as plants release oxygen during photosynthesis.
This bubble formation helps students see that light is essential for photosynthesis. In addition, water and carbon dioxide are vital, but light intensity controls how fast photosynthesis happens.
Visual cues like rising bubbles or color changes provide concrete evidence of plant science in action. These demonstrations connect photosynthesis to plant growth, energy production, and life support.
Leaf Disk Assays
Leaf disk assays allow students to test photosynthesis by measuring oxygen production in small leaf pieces. Leaf disks are cut and submerged in a solution, then exposed to light.
Students observe the disks rising as oxygen builds up inside. This happens because photosynthesis produces oxygen gas, which gets trapped in the disk’s air spaces.
This method is useful for testing how variables like light color, intensity, or carbon dioxide levels influence photosynthesis rates. It is a simple, hands-on way to explore the plant’s role in producing oxygen and sustaining life.
Testing Light Effects on Plant Growth
Experiments with plant growth under different light conditions illustrate the link between photosynthesis and development. Students grow plants under varying light intensities and colors, then measure growth changes.
For example, plants placed in full sunlight grow taller and produce more leaves than those in dim or colored light. This shows how light quality and quantity directly affect photosynthesis efficiency and plant health.
Documenting growth differences helps students understand the importance of light in plant science and photosynthesis, reinforcing the connection to overall plant growth and survival.
Understanding Plant Responses and Adaptations
Plants respond to their environment through various movements and changes that help them survive. They adapt to light, spread their seeds in multiple ways, and grow in different conditions to meet their needs.
Phototropism Activities
Phototropism is the way plants grow toward light. This growth happens because cells on the darker side of the plant elongate, causing the plant to bend toward the light source. Simple experiments can show this by placing a plant near a window or under a lamp.
Students can observe how a plant changes position over several days when exposed to light from one direction. Measuring the angle of the plant’s bend helps track growth. This activity teaches how plants use light for energy and adapt their shape to get enough sunlight for photosynthesis.
Exploring Seed Dispersal Strategies
Seed dispersal is the process plants use to spread their seeds away from the parent plant. Different plants use wind, water, animals, or mechanical forces to move seeds. Understanding these methods shows how plants colonize new areas and ensure survival.
For example, seeds with wings or fluff use wind to travel. Others may stick to animal fur or be eaten and later dropped in new locations. Simple classroom activities, like testing how far seeds with different shapes travel, help students learn about these strategies practically and clearly.
Adaptations in Growing Environments
Plants adapt to grow in various environments, including dry deserts, wet forests, and poor soils. These adaptations help them get the water, nutrients, and sunlight they need. For example, some plants grow deep roots to find water, while others have thick leaves to store it.
In experiments, students can test how plants grow under different conditions like varying water levels or soil types. Observing these differences helps students understand how plants survive in diverse habitats by changing their growth patterns. This knowledge is important for agriculture and ecology.
Frequently Asked Questions
This section covers specific methods for demonstrating plant growth, the role of the scientific method, activities for teaching plant reproduction, and how to explain biology concepts through simple experiments. It also discusses how to organize lab reports and interpret experimental results.
What are some effective experiments to demonstrate plant growth for high school students?
Growing bean plants from seeds is a common experiment. It shows germination, root development, and leaf growth.
Students can also test how different light levels, water amounts, or temperatures affect growth. These experiments link plant needs to real results.
How can the scientific method be applied in plant growth experiments?
Students begin by asking a question, such as how light affects plant height.
They form a hypothesis predicting the outcome. Then, they design an experiment to test it by changing one variable at a time.
Next, they gather data through observation, analyze the results, and draw a conclusion.
What hands-on activities can help children understand the basics of plant reproduction?
Children can examine flowers to identify parts like petals, stamens, and pistils.
Simple projects like planting seeds and watching them sprout teach about pollination and seed formation.
Teaching through models or drawings also helps explain how plants reproduce sexually.
Which simple plant experiments can illustrate basic biology concepts?
Experiments showing how sunlight and water affect photosynthesis are useful.
Observing root and leaf growth over time highlights plant anatomy and development.
Using colored water to trace movement in stems can demonstrate how plants transport nutrients.
What is the best way to structure a lab report for a plant growth experiment?
Start with a clear title and state the purpose of the experiment.
Include a hypothesis and list materials used.
Describe the procedures in order. Record observations and data clearly in tables or charts.
End with an analysis of the results and a conclusion that relates back to the hypothesis.
How can experimental results be interpreted to learn about plant growth and reproduction?
Results must be compared to the original hypothesis.
For example, if plants grew best under blue light, it indicates certain light wavelengths support photosynthesis more.
Data about seed growth rates can reveal how environmental factors influence reproduction success.
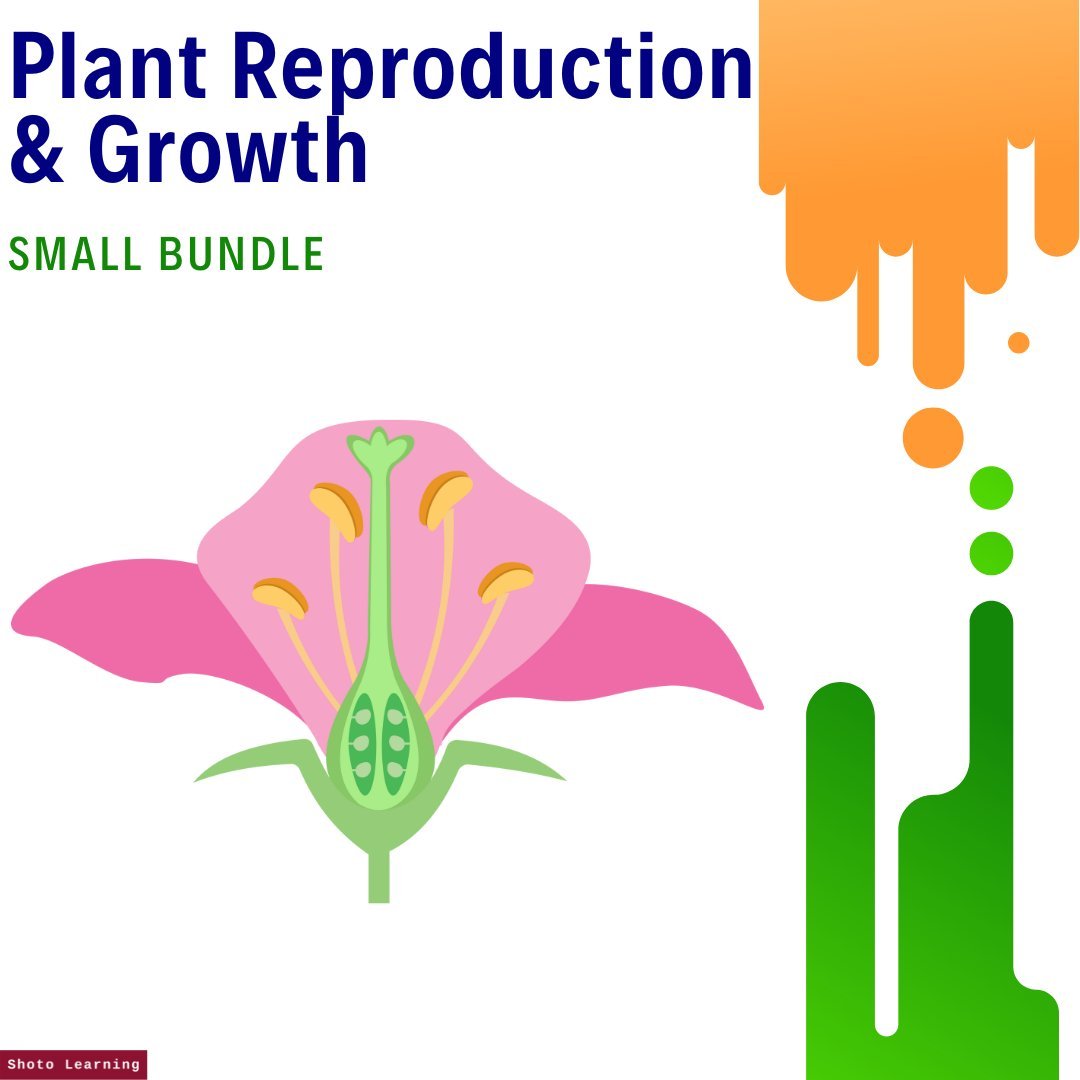




Introducing the Ultimate Plant Reproduction and Growth Worksheet Bundle: Engage, Learn, and Excel!
Our comprehensive Plant Reproduction and Growth Worksheet Bundle is a treasure trove of educational resources designed to immerse students in the fascinating world of plant biology. With a wide range of activities covering vocabulary, games, puzzles, experiments, and assessments, this bundle is a must-have for educators and learners seeking a comprehensive and interactive learning experience.
Key Features:
Diverse Range of Activities: Our bundle includes a variety of worksheets to cater to different learning styles and preferences. From ABC Order to Word Search, Crossword to Matching, and Reading Comprehension, students will enjoy a wide range of activities that reinforce vocabulary, critical thinking, and comprehension skills.
Interactive Games: Make learning enjoyable with engaging activities such as Bingo and Spin Wheels. Students can turn their knowledge into fun-filled games, fostering active participation and friendly competition.
Thought-Provoking Discussions: Debates provide an opportunity for students to engage in insightful discussions on controversial topics in plant reproduction and growth. Encourage critical thinking and enhance communication skills as students explore different perspectives.
Hands-On Experiments: The bundle includes practical experiments that allow students to gain firsthand insights into the processes of plant reproduction and growth. These experiments promote scientific inquiry, observation, and analysis.
Free PowerPoint Presentation: Enhance classroom instruction with a free PowerPoint presentation that covers essential concepts, structures, and processes of plant reproduction and growth. The visually engaging slides and clear explanations make complex topics more accessible and captivating.
Lesson Plan: Dive deep with our detailed lesson plan, complete with engaging activities and discussion topics.
Comprehensive Assessment: Test students' knowledge and understanding with our 45-minute test and assignment, which covers a broad range of plant reproduction and growth topics. Multiple-choice questions and true or false statements provide a comprehensive evaluation of student learning.
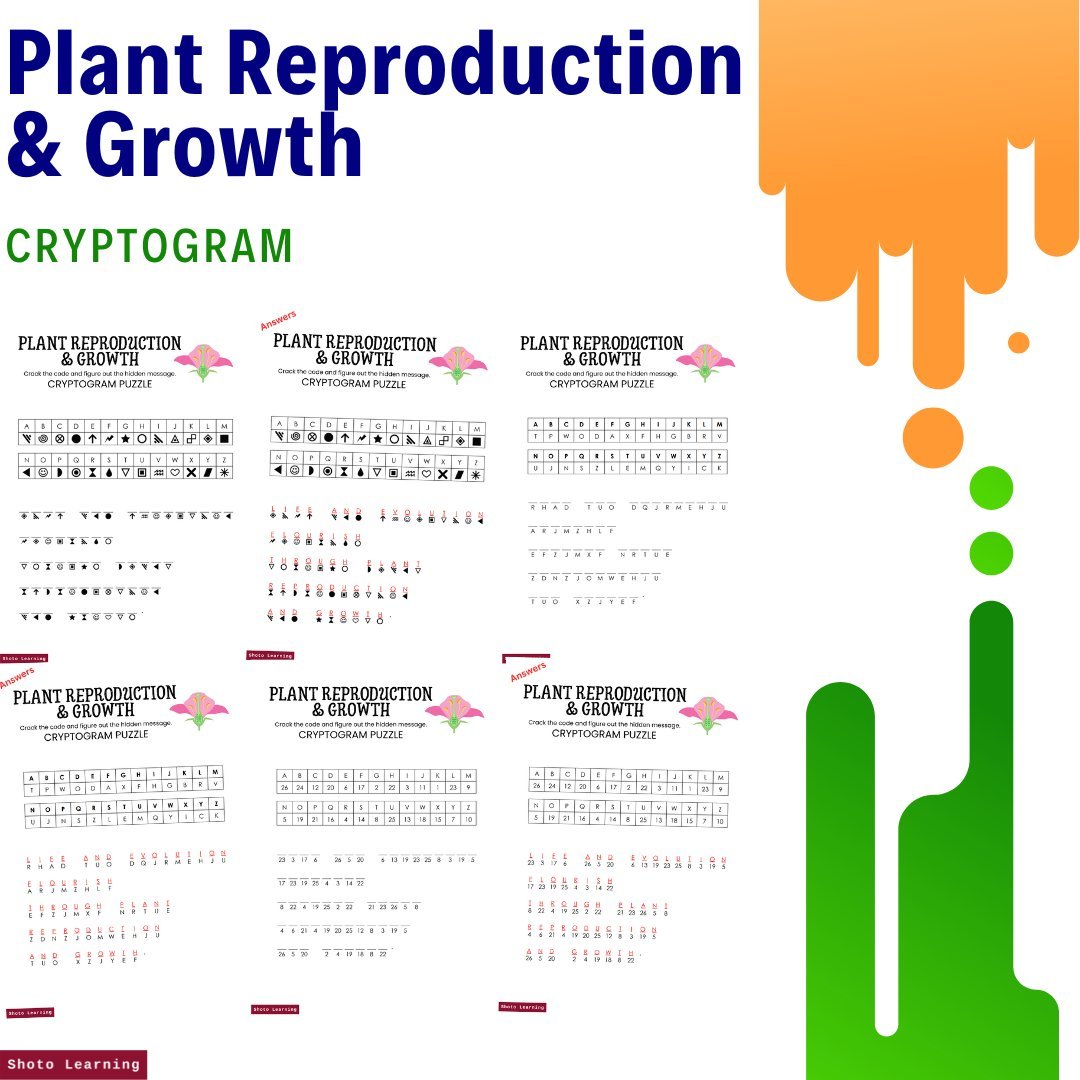
Vocabulary Reinforcement: Worksheets like Cryptogram, Fill in the Blank, and Missing Letters promote vocabulary retention and spelling proficiency. Students will enjoy decoding secret messages, completing sentences, and mastering plant reproduction and growth terms.
Writing Prompts: Foster creativity and critical thinking with writing prompts that encourage students to delve deeper into plant reproduction and growth topics. These prompts inspire students to articulate their thoughts, develop coherent arguments, and strengthen their writing skills.
Immerse students in the captivating world of plant reproduction and growth with our comprehensive worksheet bundle. From vocabulary reinforcement to hands-on experiments, engaging games to thought-provoking discussions, this bundle provides endless opportunities for learning, exploration, and growth.
129 pages
Order your copy today and empower your students to excel in plant biology!